To run Facebook ads using Jumpalead, you’ll need to connect your Facebook account and grant the right permissions. This guide walks you through the process step by step.
Step 2: Connect your Facebook account to Ad Manager
Go to Marketing > Ad Manager
Click Connect Now
Sign in with your Facebook credentials
Make sure you grant all requested permissions
Toggle all switches ON
Select all checkboxes
Select the Page you want to connect
Step 3: Troubleshooting – if your Page isn’t showing
If your Page doesn’t appear when trying to connect, it usually means you’re missing admin permissions or haven’t granted the right access.
Facebook Permissions Checklist
1. Page Admin Access
You must have full admin access to the Page.
To check:
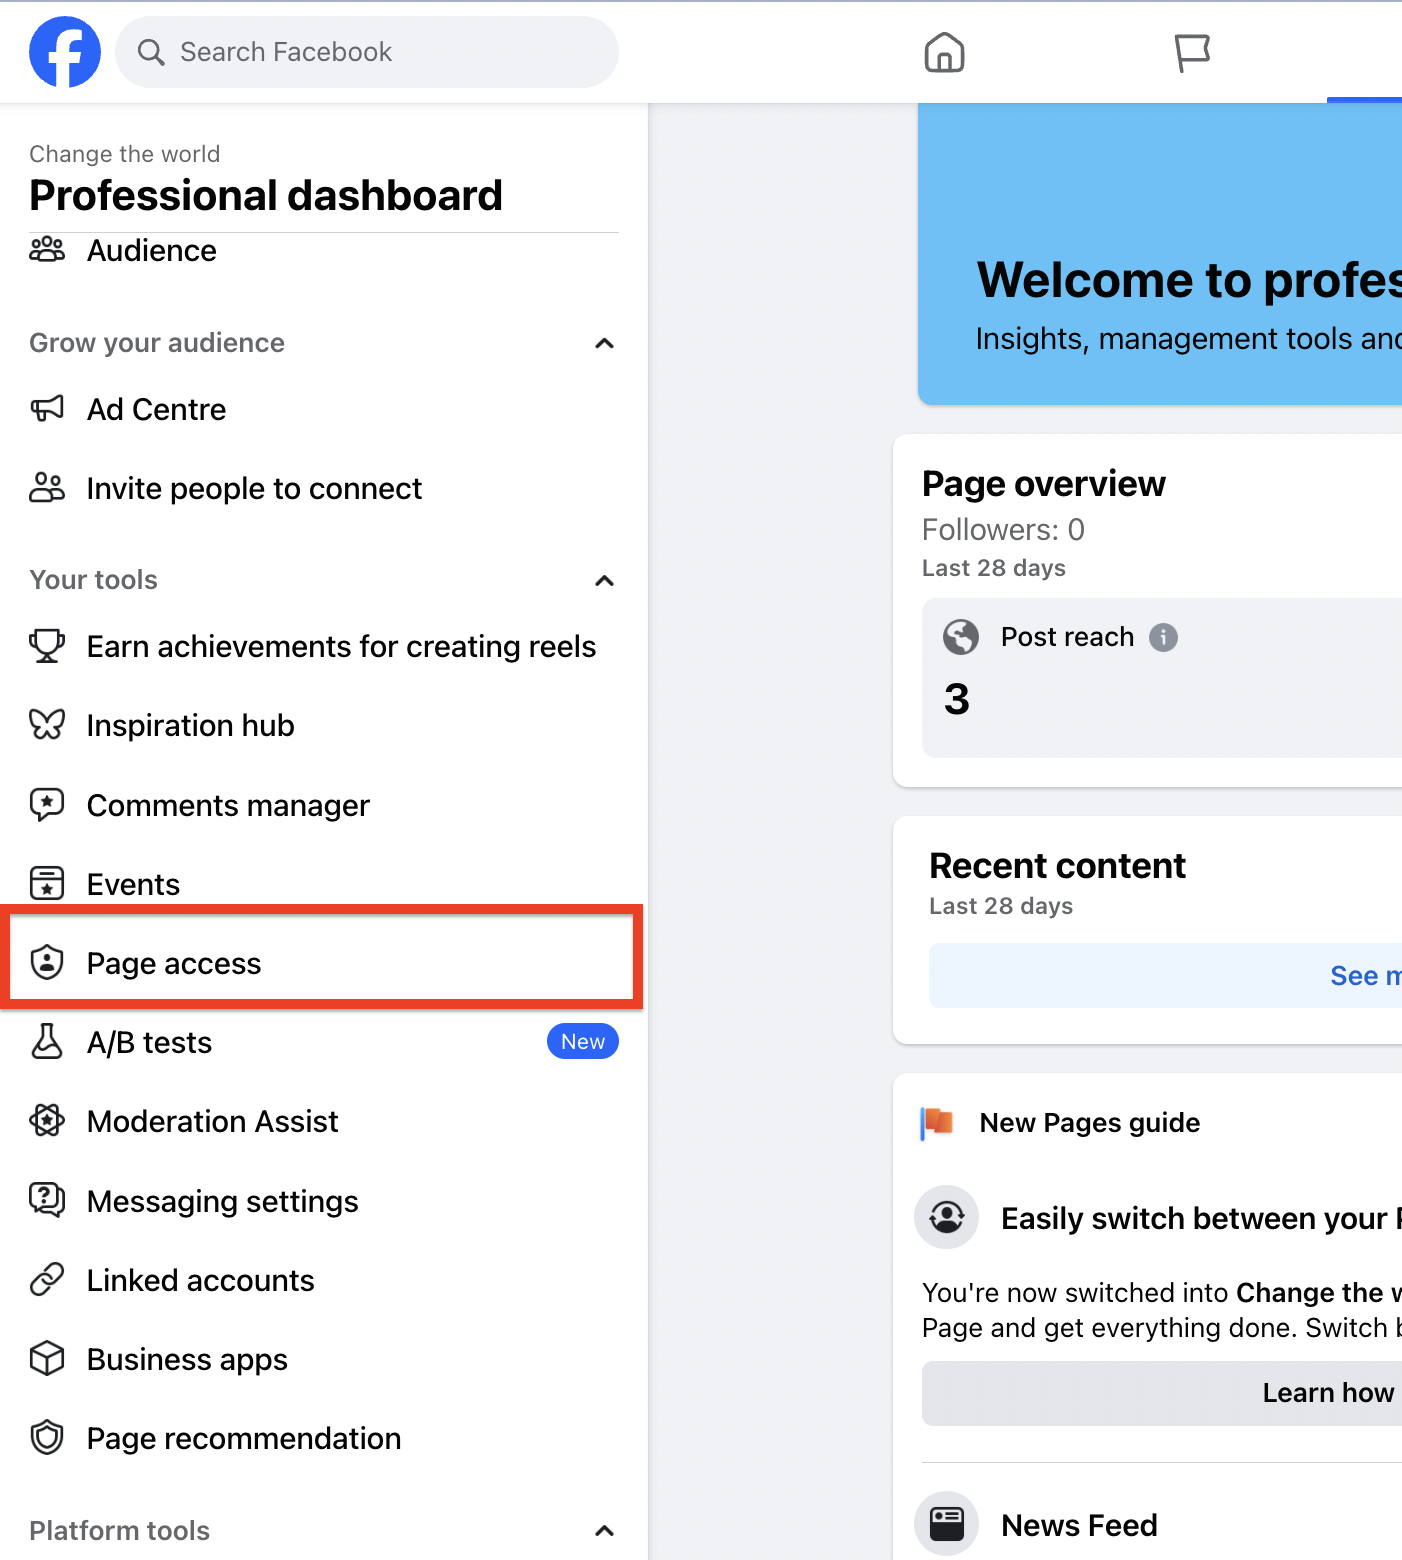
Go to your Page
Click Manage > Page Access
You should be listed as Admin
If the Page is part of a Meta Business Account:
Go to Meta Business Suite > Settings > Accounts > Pages
Confirm you are added as an Admin
If not, request access from the owner
2. LeadConnector Permissions
You also need to grant full permissions to the LeadConnector integration.
To update these:
Log into Facebook
Go to Settings & Privacy > Settings > Business Integrations
Locate LeadConnector and click View and Edit
Turn ON all the following:
Manage your business
Access leads for your Pages
Show a list of Pages you manage
Manage ads for ad accounts you have access to
Click Save
Note: Removing these permissions later will disconnect your account. You’ll need to reconnect before making campaign changes. Live campaigns will continue running.
Step 4: Add a teammate as Admin
To give someone else access:
Go to your Page
Click Manage > Page Access
Enter their name or email
Choose Admin from the role dropdown
Click Add and confirm with your password
Still need help?
If something’s not working or you just need a hand, we’re here to help. Reach out and we’ll get back to you as soon as we can.


.svg)